(Disclosure, I may receive a small referral fee when you make a purchase through links on this post.)
{continued from part 1}
My previous post got too long for my SQL database to handle so I had to split the last portion of the post eharmony registration walk through here. This post will finish off what you look for in a match and part of the navigation when you do get matches.
This is new. Not only can you select how far of a distance but you can specify the exact location of your match from U.S states, in your country, anywhere in the world, and specific country. If you select specific states or country, you can type those in.
I suppose here is where the official questionnaire ends.
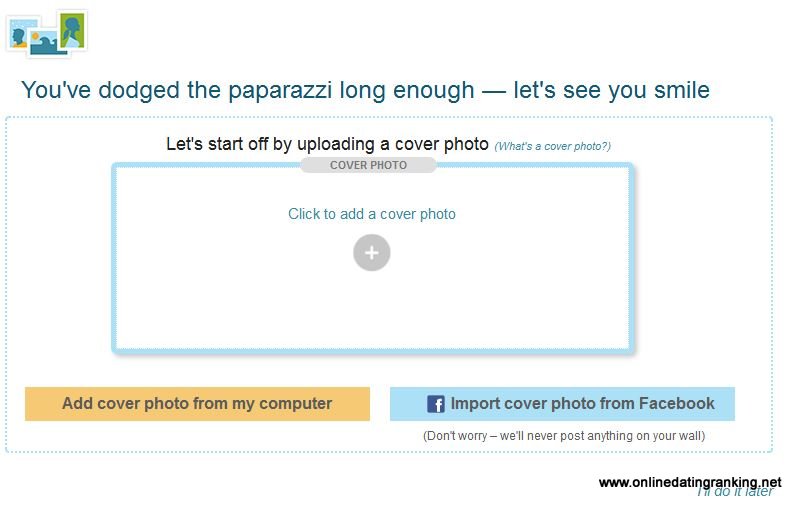
Here you are given a chance to upload your picture of Import your cover photo from Facebook. Research shows that profiles with a real picture has a much higher probability of being viewed, read, and messages received. Go for it!
You are displayed a graphic detailing what they do with your information. You are given 8 matches right away and they will give you new matches daily. You will not be able to search, filter or look for other profiles outside what you are given.
Surprisingly, you are immediately directed to the pay page. Previously, you were directed to your matches and once you make an attempt to view their picture or send a mail, you are directed to the pay page. You can look at our 2013 eHarmony promotional code to give you a discount to the subscription.
In order for you to go to your matches, click the eHarmony logo at the top of the screen. There will be no link that says, “I’ll do this later”.
Once you get your matches, you will not see any pictures. This is a staple of eHarmony. You can click into any profile and read through how they answered.
There you have it! Don’t be afraid to try it out yourself! It did take a total of just over 2 hours but it was well worth it!

